
SocialEcho Setup Guide: AI Social Media Workspace
Setting up a social media management platform often feels like assembling furniture without instructions: you know the pieces are there, but the order matters. SocialEcho is an all-in-one social media AI workspace for global businesses, covering publishing, engagement, social listening, analytics, and AI automation. This guide walks through a practical setup sequence so your team can move from account connection to a working workflow without guesswork.
What to prepare before you start
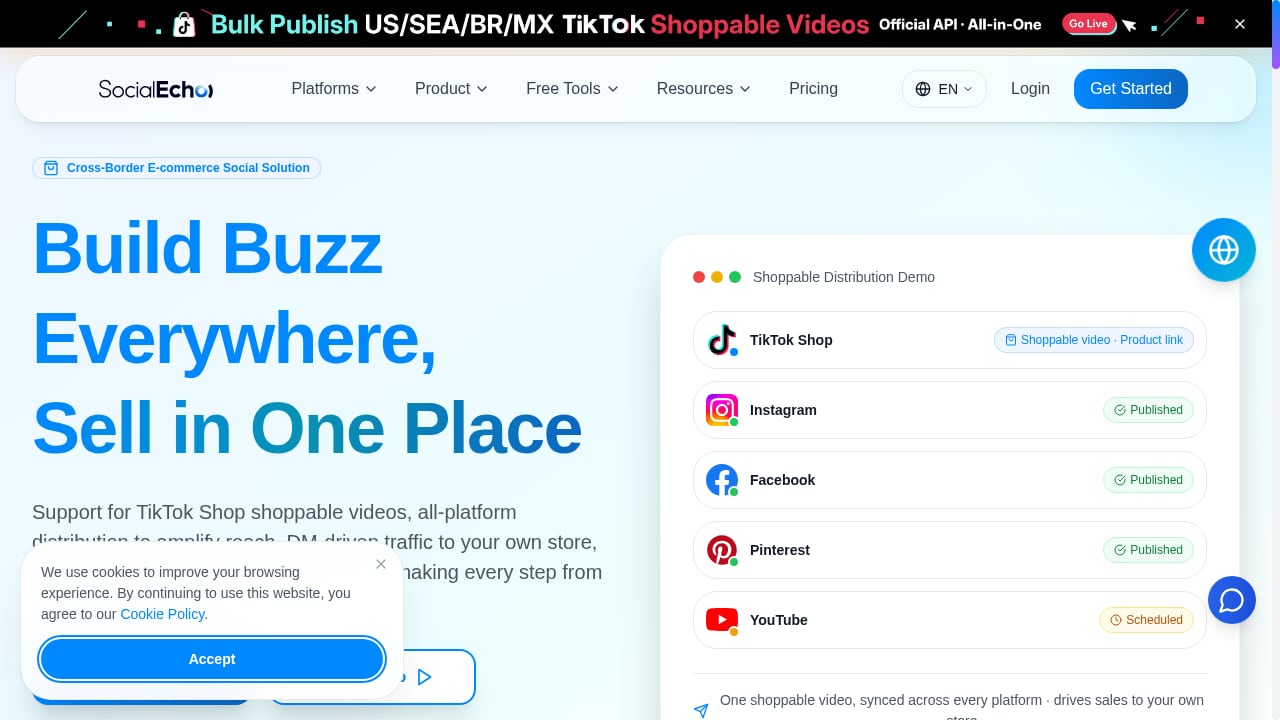
First viewport screenshot of E-commerce Solution - SocialEcho.
A clean setup depends on decisions made before you touch any settings. Gather these first:
- Account inventory: List every social profile your brand owns, plus the platforms you monitor but do not own (competitors, industry voices, keywords).
- Team map: Identify who publishes, who engages, who analyzes, and who administers. Setup is faster when roles are agreed upfront.
- Access credentials: Confirm who holds admin rights on each social account and on your workspace.
- Workflow goals: Decide the first outcome you want, such as a weekly publishing calendar, a unified inbox, or a listening dashboard for a product launch.
If you are still comparing platforms, the top 10 social media management software roundup can help you confirm that SocialEcho fits your requirements before investing setup time.
Step 1: Create your workspace and set user roles
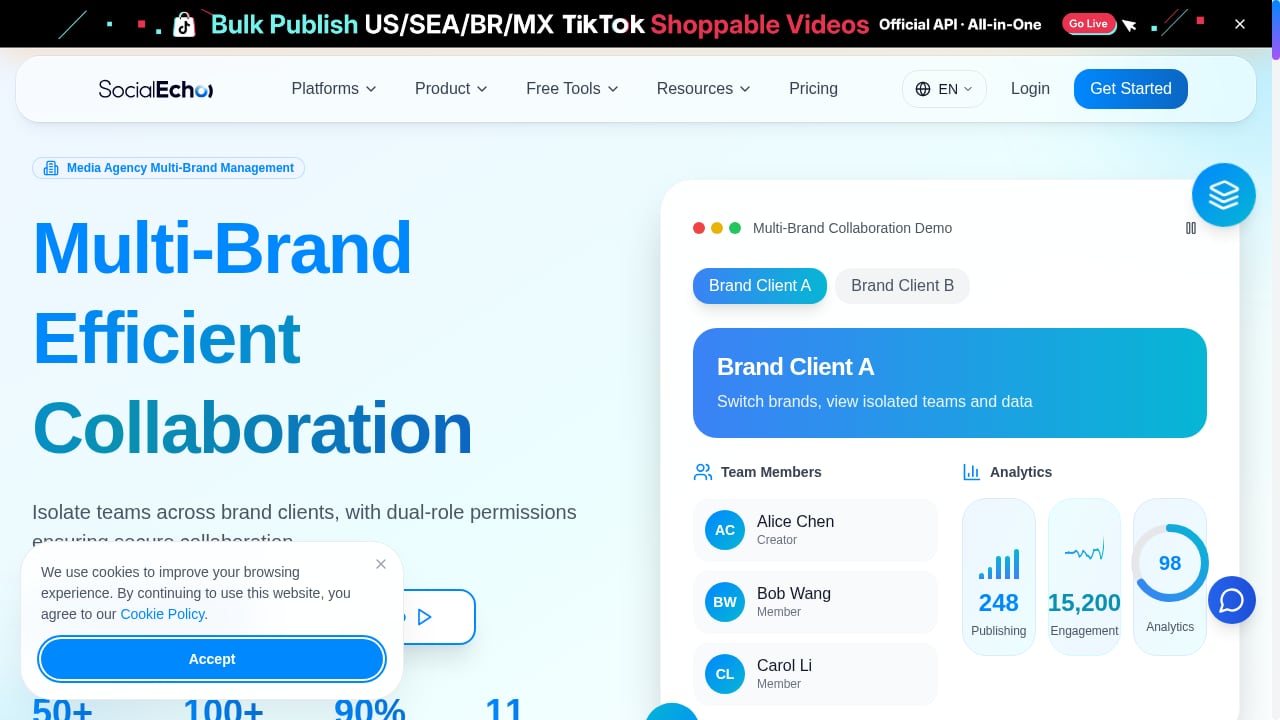
First viewport screenshot of Media Agency Multi-Brand Management - Team Isolation, Permissions, and Custom Reports - SocialEcho.
Start with structure, not content. Create the workspace, then invite team members with the narrowest role that still lets them do their job.
A practical role split looks like this:
| Role | Typical permissions |
|---|---|
| Admin | Billing, integrations, user management, workspace settings |
| Publisher | Draft, schedule, and publish content; manage the calendar |
| Engagement agent | Reply to messages and comments; assign conversations |
| Analyst | View dashboards, export reports, configure listening queries |
Example: A retail brand gives its regional managers publisher access for their own markets, while the central social team keeps admin rights. This prevents accidental cross-market publishing while keeping local teams autonomous.
Step 2: Connect owned social accounts
Connect the profiles you publish from first. For each platform, authorize the account through the official login flow and confirm the correct page, profile, or business account is selected, especially when one person manages multiple brands.
Watch for these common snags:
- Wrong asset selected: A personal profile connected instead of the brand page.
- Expired permissions: Authorization granted by someone who later leaves the company.
- Duplicate connections: The same page added twice under different names.
After connecting, verify each account appears once and is labeled consistently, for example by market or brand.
Step 3: Configure publishing and the content calendar
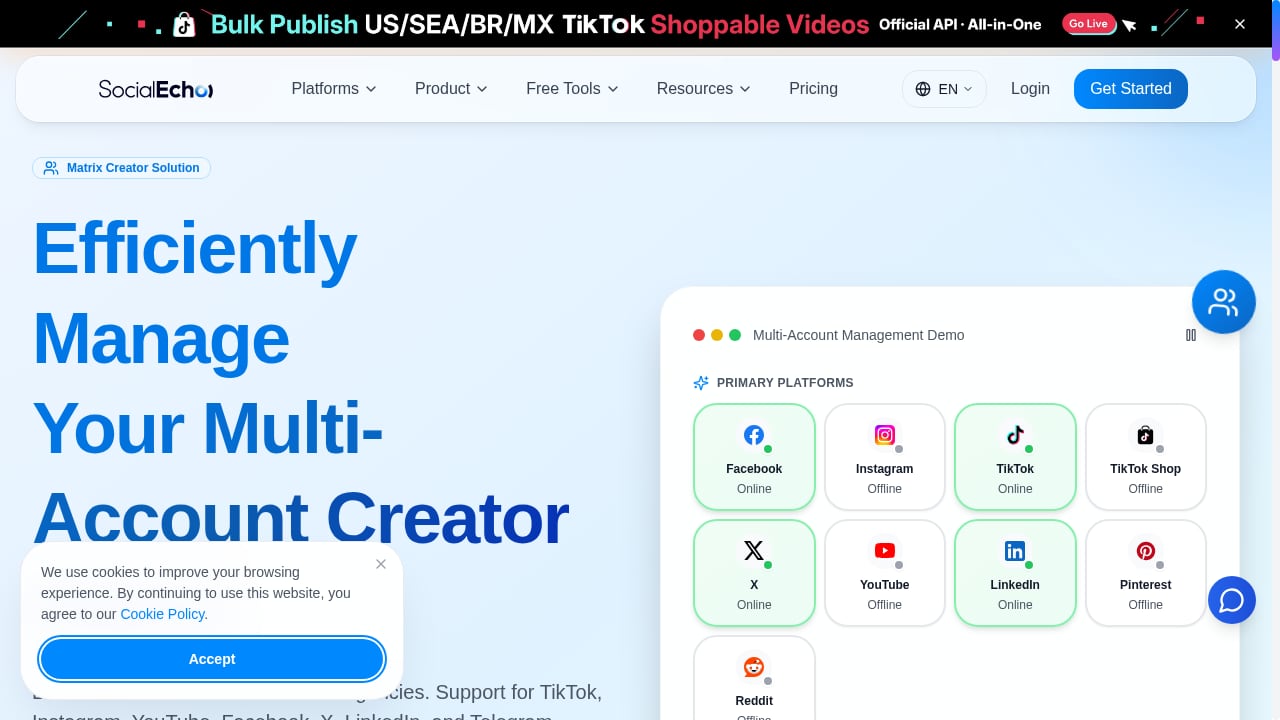
First viewport screenshot of Matrix Creator Solution - Multi-Account Scheduling, Engagement, and Analytics - SocialEcho.
Publishing is where setup pays off fastest. Define your approval flow before scheduling the first post.
- Set default time zones per market so scheduled posts go out at the intended local time.
- Create draft-to-approval rules: who writes, who reviews, who publishes.
- Build a reusable content taxonomy (campaign, product line, region) so analytics later can segment performance.
- Schedule one test post per platform and confirm it publishes correctly.
A test post is not busywork. It surfaces permission issues, media formatting problems, and time zone errors while the stakes are low.
Step 4: Set up social listening
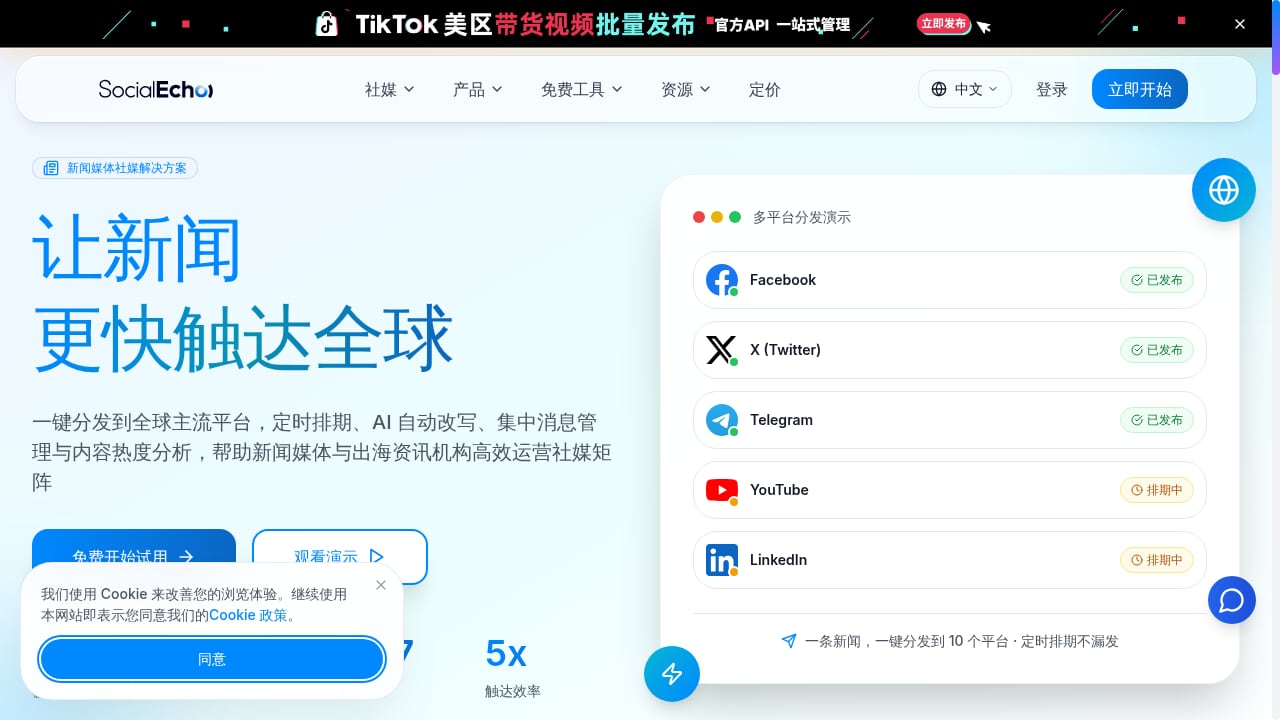
First viewport screenshot of News Media Solution - SocialEcho.
Listening turns the workspace from a scheduler into an intelligence tool. Configure queries around three buckets:
- Brand: Your name, product names, common misspellings, and campaign hashtags.
- Competitors: Rival brands and their flagship products.
- Industry: Category terms, regulatory keywords, and trending topics relevant to your market.
Use Boolean logic to keep queries tight. For example, combine a brand term with a purchase-intent phrase to isolate sales-relevant mentions from general chatter. If your team also uses a dedicated media intelligence platform, the guide on using SocialEcho with Meltwater explains how to combine listening data with earned-media monitoring.
Assign each query an owner. A listening dashboard nobody reviews is just a data archive.
Step 5: Configure engagement and the unified inbox
Connect messaging and comment streams so responses do not fragment across apps. Then set routing rules:
- Route sales questions to the commercial team.
- Route complaints to support with a priority flag.
- Keep brand-voice replies with the social team.
Define response-time targets per channel and review them weekly. Setup is complete when the inbox has owners, not just messages.
Step 6: Build analytics dashboards
Analytics should answer the questions your stakeholders actually ask. Start with three dashboards:
- Executive summary: Reach, engagement rate, follower growth, and share of voice.
- Campaign performance: Results by campaign tag, with spend and organic side by side.
- Community health: Response times, sentiment trends, and unresolved conversations.
Align metric definitions with your taxonomy from Step 3 so numbers reconcile across reports. For a broader view of how analytics and AI fit into platform selection, see the SocialEcho vs Planable vs Dash Social comparison.
Step 7: Turn on AI automation carefully
AI features are most useful when scoped narrowly at first. Common starting points include draft suggestions, sentiment tagging, and reply recommendations that a human approves before sending.
A sensible rollout:
- Enable AI assistance in draft mode only.
- Review outputs for two weeks and correct tone or classification errors.
- Expand automation to low-risk tasks such as tagging and routing.
- Keep human approval on anything customer-facing until quality is proven.
Setup checklist
- Workspace created and roles assigned
- All owned accounts connected and verified
- Time zones and approval flow configured
- Test post published on each platform
- Listening queries built with owners assigned
- Inbox routing rules active
- Three core dashboards live
- AI features enabled in supervised mode
Common setup mistakes to avoid
- Skipping the test post. It is the cheapest way to catch configuration errors.
- Over-broad listening queries. They bury signal under noise; refine with Boolean operators.
- Too many admins. Least-privilege access reduces risk and confusion.
- No metric definitions. Without agreed definitions, dashboards invite arguments instead of decisions.
For teams weighing alternatives before committing, the SocialEcho vs Emplifi comparison covers publishing, auto-replies, listening, and API access in more depth.
Sources and further reading
- Getting Started with Meltwater Explore - Media monitoring enables professionals to track earned mentions and measure the effectiveness of their efforts. This course will help users get started with Meltwater Explore, including setting up users and connecting accounts for social listening.
- Meltwater Tutorial for Students (Social Media Monitoring) - This short tutorial will help walk you through using the Meltwater software to ensure quality research for your projects.
- Connect Meltwater to ChatGPT: IT Guide - This guide is for an organization’s IT or ChatGPT Workspace Admin. It walks through enabling the Meltwater plugin so your organization can query Meltwater in plain language from inside ChatGPT, tracking brand coverage, comparing share of voice, and building briefings, without logging into the Meltwa...
FAQ
How long does SocialEcho setup take?
A single-brand team can complete the core steps, including account connection and a test post, in a few hours. Multi-market organizations should budget additional time for role design, approval workflows, and listening query refinement.
Do I need admin access to social accounts to connect them?
Yes. Connecting a page or profile requires authorization from someone with admin rights on that account. Plan for this before setup day to avoid delays.
Can I set up listening before connecting publishing accounts?
You can, and some teams do. However, connecting owned accounts first is usually more efficient because publishing permissions and listening sources often overlap.
How should I phase AI automation during setup?
Start with supervised assistance such as draft suggestions and tagging. Expand to automated routing or replies only after reviewing output quality over a defined trial period.
Conclusion
A successful SocialEcho setup follows a deliberate order: structure and roles first, then account connections, publishing rules, listening queries, inbox routing, analytics, and finally supervised AI automation. Each step builds on the previous one, so skipping ahead usually creates rework. Treat the checklist above as a launch plan, run the test post, and assign an owner to every dashboard and query. For a wider view of how the platform compares with alternatives, the SocialEcho and MCP platforms ranking is a useful next read.